Building a farm pond may seem like an overwhelming task, but it's pretty simple if you break the process down into smaller parts and work on it one step at a time.
With the right tools and materials, this pond project will take approximately two weeks to complete, though it could be done in less time with extra hands to help out. You'll need to follow these seven steps to build your farm pond.
Step 1: Find Your Spot
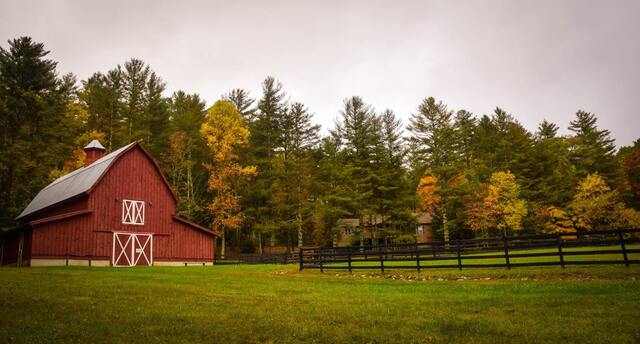
The first step to building a farm pond is finding the perfect spot. You'll want to consider the size of your property, where the sun hits, and your proximity to power and water sources.
Once you've found the perfect spot, it's time to start digging! As you dig out the hole for your pond, ensure it's not too deep or too shallow so that its volume matches up with what you need for adequate filtration and aeration.
Next, pour gravel into the hole until it covers about two-thirds of the bottom; this will help with drainage and prevent soil from getting into your pond, which could lead to algae growth.
Step 2: Installing an Outlet

After determining where you want your pond and digging the hole, it's time to install an outlet. This is important for two reasons: first, so you can drain the pond if necessary, and second, so you can add a water source later on if you choose.
You'll need to have your plumber come out to do this part of the process.
To attach the hose, you'll need to drill a hole through one side of the pipe with a hole saw drill bit that matches up with the diameter of your hose (typically 3/4 inch). If you're using more than one length of pipe for drainage purposes, ensure that all lines are well sealed with Teflon tape at each joint before drilling any holes.
Step 3: Set Up The Pumps
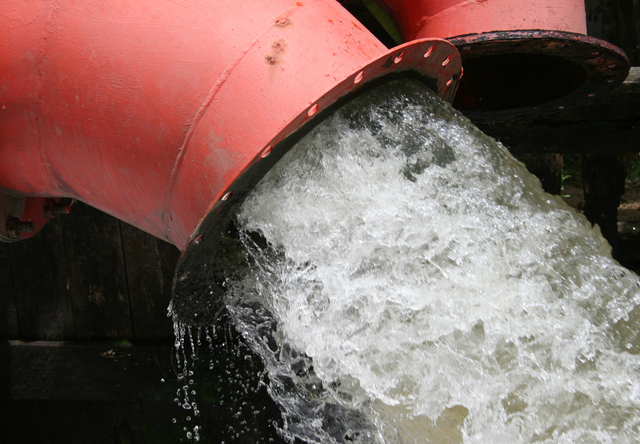
If you want running water in your pond, you'll need to set up some pumps. You'll need one pump for every 10 feet of waterfall or stream you want to create. Make sure to place the pumps near an outlet to plug them in quickly.
When you purchase the pumps, they will come with detailed instructions on how to set them up. Step 4: Install A Skimmer Box: Skimmer boxes are essential because they help keep debris out of your pump and filter system.
When installing the skimmer box, ensure it is about 6 inches below the water's surface to collect floating debris like leaves and sticks that would otherwise clog your system and cause it to stop working correctly.
Step 4: Lay In The Filter Pad
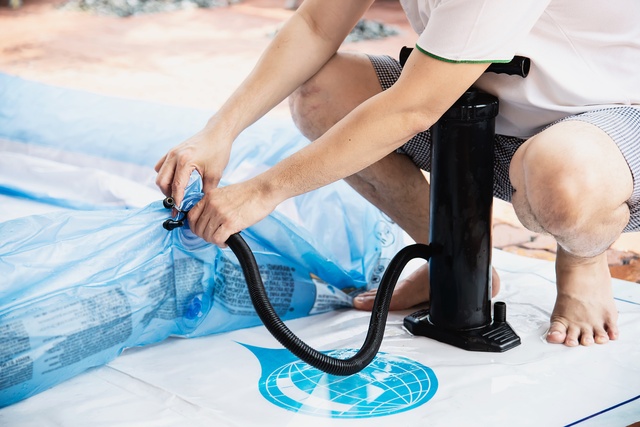
The filter pad is one of the most critical aspects of your pond. It will help keep our water clean and clear.
Follow these steps to lay your filter pad correctly.
1. Choose the location for your filter pad. It should be close to the pond but not too tight so that it will get clogged with debris.
2. Clear the area of any vegetation or debris.
3. Level the area so that it is nice and flat.
Step 5: Add Rocks and Decorations
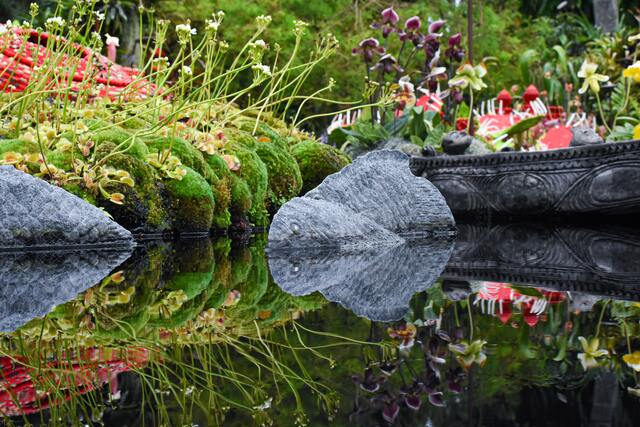
Rocks and other decorations make your pond look more natural, provide places for fish to hide, and help keep the pond clean.
If you have kids, they'll love helping out with this part! Here's how to do it
1. Dig out a hole at least 10-12 inches deep so that when filled with water, it will create an incline from the edge to the center of the hole.
2. Place rocks inside on one side of your hole so that they're almost touching each other, then place another row of stones across from them on top of the first row so that there are about two inches between them.
Step 6: Add Plants and Vegetation
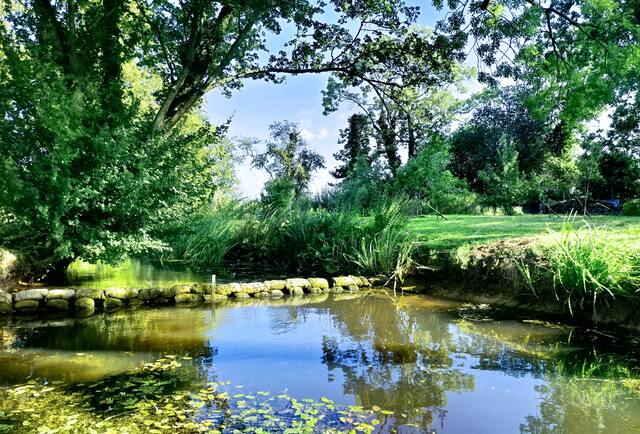
Adding plants and vegetation to your farm pond is essential to the building process. Not only do plants add aesthetic value, but they also help improve water quality and provide a habitat for fish and other aquatic creatures.
The best time to plant or transplant plants into your pond is in the spring when soil temperatures are moderate (between 40 and 60 degrees F). Once you have selected which plants you want to use, dig holes three times as wide as the root ball and deep enough so that all roots are covered by soil.
For example, if a plant has roots that extend 6 inches deep, you will need to dig 18 inches wide and 12 inches deep holes.
Step 7. Creating a Waterfall
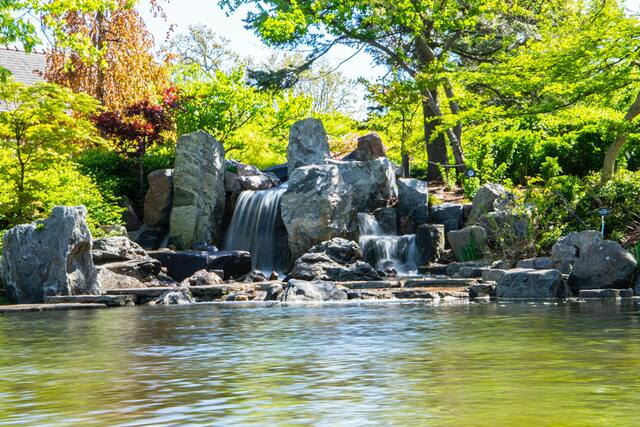
If you want to add a waterfall to your farm pond, there are a few things you need to do. First, you'll need to dig a trench for the waterfall. The size of the track will depend on the size of the waterfall you want.
Next, you'll need to line the trench with rocks. Again, the size and type of stones will depend on the size of your waterfall. Once you have your gems in place, it's time to add the water.
Conclusion: How to Build a Farm Pond in 7 Steps
Building a farm pond is a great way to provide water for your livestock and attract wildlife. Plus, it can be a
beautiful addition to your property. Here are a few steps to get you started:
1. Choose the right location for your pond.
2. Decide on your pond's size and depth.
3. Excavate the pond area.
4. Install a liner and fill the pond with water.
5. Add plants and fish to your pond.


